Design Guidelines for 3D Printing Tech
The fact that the digital design is going to become a physical object in future is of paramount value.
"Anything can be drawn in 3D on a digital canvas, but not everything can be printed three dimensionally."
There are various 3D printing processes in use in today's industrial world and each of those processes has its own design limitations.
Here are some important guidelines you need to keep in mind while designing parts for 3D printing.
Material Guidelines
Each and every printing material is different. Materials can
be brittle or strong, flexible or solid, smooth or rough, heavy or light, and
so on. This also means that an object should ideally be designed for a specific
material. For example, if you know that you want to print your 3D model in Steel,
there will be specific material-related design recommendations that you need to
take into account such as supporting overhanging parts, strengthening elements
that are sticking out, rounding off corners, etc. The choice of your printing
material simply pre-determines some of the basic design guidelines that
you need to stick to.
Printing Technology
It’s not only the
basic chemical characteristics of our printing materials that are different,
but also the technologies that are used for printing each of these materials.
The best example of this is interlocking parts; in materials
like ABS, Polyamide, Alumide, or Rubber-like you can
print interlocking parts, while in others like Gold, Silver, Bronze,
or Resin this is not possible. The reason behind this is not the
material itself, but the technology that is used for printing each of these
materials.
For ABS we use Fused Deposition Modeling (filament-based)
with an extra nozzle and material for support, for Polyamide, Alumide, and
Polypropylene we use Laser Sintering (powder-based), for precious
metals we use lost wax casting (based on a 3D print in wax and a mold), and for
the Resins we use Stereolithography (liquid polymer-based).
This might sound confusing but
the important thing to keep in mind is the following: we cannot assume that
Stainless Steel and Silver will have similar requirements simply
because they are both metals. They are printed using different technologies and
thus some design features will differ. However, materials that use the same
technology such as Gold, Silver, Bronze, and Brass (lost wax casting) are more
likely to share similar design requirements.
Wall Thickness
Every 3D printing process can produce accurately features that
are thin up to a certain point. Problems linked to wall thickness are by
far the most common reasons why some 3D models are not printable. In some
cases, wall thickness is too thin. Walls that are too thin make small parts on
the model unable to be printed or very fragile and could break off easily. In
other cases, walls that are too thick generate too much internal stress and
could cause the item to crack or even break.
As a good practice, always add thickness to your models. Walls
with thickness greater than 0.8 mm can be printed successfully
with all processes.
Overhangs
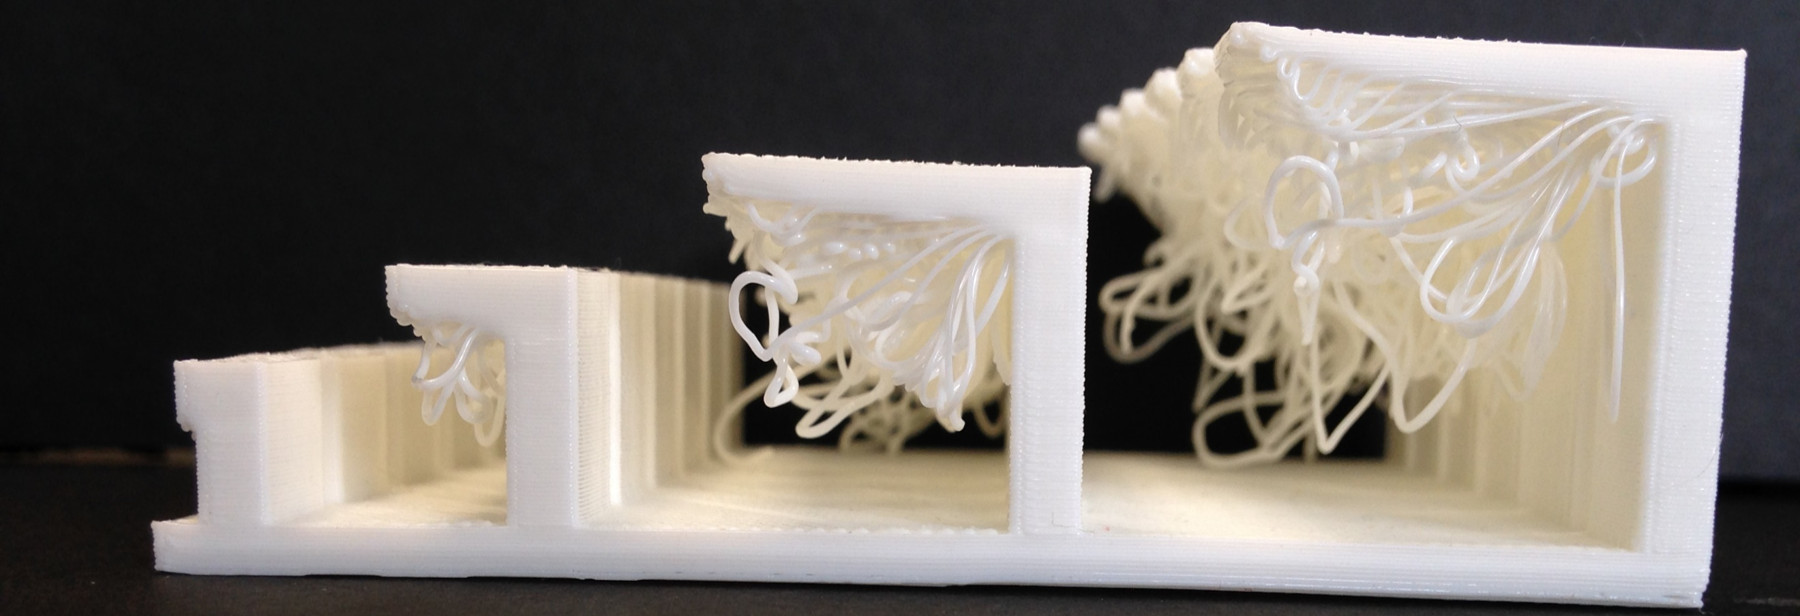
All 3D printing processes build parts layer-by-layer. Material cannot be deposited onto thin air, so every layer must be printed over some underline material. Overhangs are areas of a model that are either partially supported by the layer below or not supported at all. There is a limit on the angle every printer can produce without the need of support material. For example, for FDM and SLA this angle is approximately 45 degrees.
It is a good practice to limit the overhangs of a model, as layers printed over support usually have a rougher surface finish.
Warping
Something that is often easily overlooked while designing a 3D model is the fact that the materials used for 3D printing undertake physical change: they are melted, sintered or scanned with a laser and solidified. The heating and cooling of material can cause the parts to warp while printing. Large, flat surfaces can be especially prone to warping. Warping can typically be avoided by using correct machine calibration and having adequate surface adhesion between your part and the print bed.
A good practice is to avoid large flat surfaces and add rounded corners to your 3D models.
File Resolution
For 3D printing, the
most common file format is STL (which stands for standard triangle language),
which means that your design will be translated into triangles in a 3D space.
Most 3D modelling software has the option to export your designs to an STL file
and set the desired resolution.
Low-resolution STL file:
It’s important to be aware
that a poor-quality export will never allow us to provide you with a good
print. Low-resolution means that the triangles in your STL file are big and the
surface of your print will not be smooth. It will lead to a somewhat “pixelated”
print.
Very high-resolution STL file:
A file with a resolution
that is too high will make your file too big and sometimes impossible for us to
handle. It might also contain an extreme level of detail that the 3D printers
simply cannot print.
In most 3D modelling software,
when exporting a file you will be asked to define the tolerance for the export.
This tolerance is defined as the maximum distance between the original shape
and the STL mesh you are exporting. It is advised to choose 0.01 mm for a good
export.
Exporting with a tolerance smaller than 0.01 mm does not make
sense because the 3D printers cannot print at this level of detail. When
exporting with a tolerance larger than 0.01 mm, triangles might become visible
in the 3D print.


Comments
Post a Comment